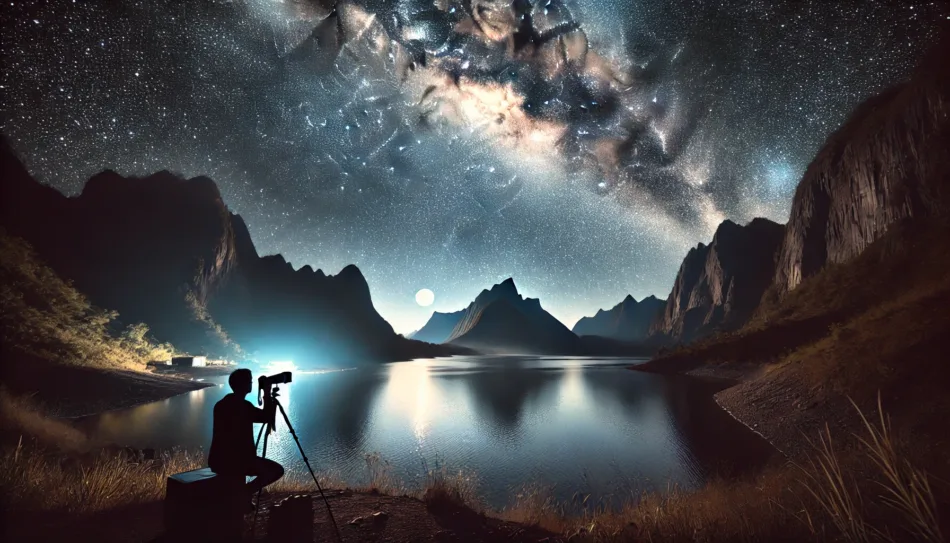
The night skies were covered by the darkness with a wonderful carpet of stars, photographs can stop our hearts right there and then. In the middle of this celestial circus is our own Milky Way — that beautiful ribbon of light, showing how big our galaxy truly is. Shooting the Milky Way is a right of passage to many an astrophotography enthusiast, it’s their way of reaching out and touching the universe as they attempt to capture some majestic sweeping vistas.
But while taking photos of the Milky Way may seem as simple pointing and shooting, there is a certain layer to it that goes beyond technicals — one has to understand where in the night sky our galaxy will appear (depending on which part of Earth you are currently at), what gear they need for this kind of photography and most importantly some key techniques every photographer should follow if he or she wants a nice capture. In this guide, we delve into what you need to know about Milky Way photography from choosing your ideal location and time of the year — or night—, mastering exposure settings as well as post-processing techniques. So whether you’re a seasoned astrophotographer or an intrigued beginner, prepare to unleash the mysteries of the cosmos and elevate your night sky photography.
How to capture the Milky Way in astrophotography
The Milky Way on a Plane Concept
What is the Milky Way?
The Milky Way is just one of billions of stars born in a barred spiral galaxy. It appears as a glowing strip that spans the darkness, composed of infinite numbers of stars, nebulae and cosmic dust. Knowing the makeup of the Milky Way and its location to everything else in space can help you capture an image that really shows off what you are aiming for.
Best Time To Capture The Milky Way
Under ideal conditions, the milky way can be observed at certain times of year.
- Season: The Milky Way core is easily visible from spring through early fall in the Northern Hemisphere, and shines bright along a region of our sky perhaps most radiantly during May – September. In the southern hemisphere it can be seen from June through October.
- Time of Night: The big time for milky way photography is from 11 pm to 4 am when sky will dark and core visible.
REQUIRED GEAR For Milky Way Photos
It need the comprised hardware to get those dazzling Milky Way pictures. This is a very subjective list of must-have products and services.
- Camera: A traditional DSLR or mirrorless camera with manual settings is the best type of gear for astrophotography.
- Lens: A wide-angle lens, and a f-stop around or below the 2.8 needs to be preferred (means will gather more light with this setting).
- Tripod: This item is an absolute must and will help you to maintain a steady camera during long-exposure shots.
- Wireless Shutter Release: To reduce camera shake by not touching the shutter release, and getting sharper shots.
- Star Tracker (Optional): More seasoned astrophotographers may need a star tracker, which eliminates Earth’s rotation to enable more extended exposures without producing stars trails.
Setting Up for Success
How To Chose The Correct Position
To capture the Milky Way You need to find a place where light pollution is minimum so you can see dark sky. Tips for choosing the perfect place:
- National Parks & Nature Reserves: Due to their remote nature, these areas typically have little competition from artificial light.
- Get out of the City: Urban Light Pollution will ruin your night sky.
- Check Light Pollution Maps: Be sure to use resources like Dark Sky Finder or even Light Pollution Map
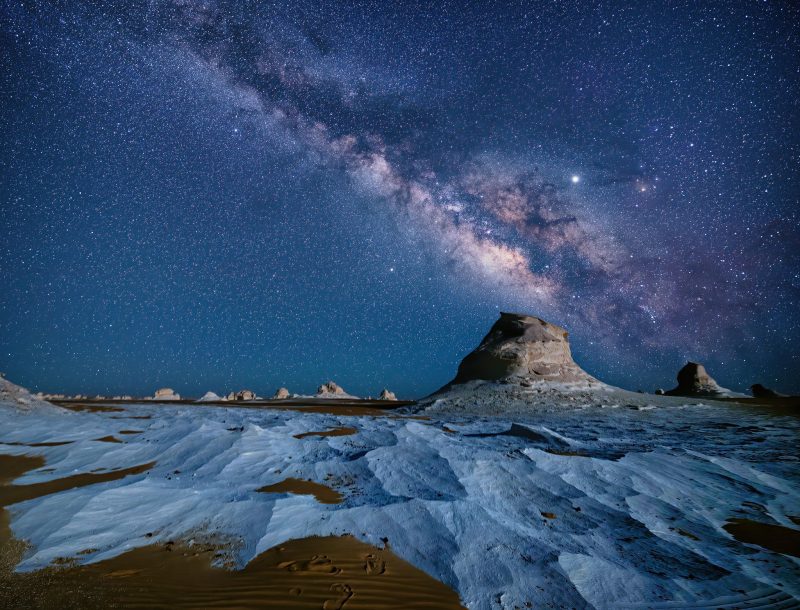
Image Source : earthsky.org
Planning Your Shoot
After your camera settings are dialed and you’re ready to take a shot of the Milky Way, it’s time to execute on that plan. Below is a step-by-step guide on how you can achieve great images:
1. Tripod
- Set it up on a Stable Surface: The key in getting some good photos with this method is having the tripod setup properly so you will need to find a stable platform for your camera. If you are on bumpy ground, adjust the legs of the tripod to make them even.
- Orientation: That being said, you may want to shoot in landscape or portrait mode depending on what you see when the elements addedntag are displayed. Wider shots of the Milky Way are often pictured in landscape mode.
2. Frame Your Shot
- Composition Matters: Before snapping away, try to think about the composition of your picture. The more layers in a landscape photo, the better—from flowers or grasses close to your feet all the way back to far-off mountains or sky.
- Rule of Thirds: Mentally divided you frame into nine equal divisions. Position the Milky Way on one of these lines or intersections for a balanced composition. Your cameras grid feature can help with this.
3. Manual Focus
- Find a Bright Star: Change your lens to manual focus and find the brightest star in the night sky. Use your camera’s live view feature to magnify the star so you can check focus.
- No Autofocus: With low light, autofocus tends to get confused and cause blur images so manual focus is important for sharp details.
4. Use a Remote Shutter Release or Self-Timer
- Avoid Camera Shake: Keep the camera stable by either releasing the shutter with a cable release or setting your cameras self timer so it fires a few seconds after triggering. This waits for the camera to settle down once you hit the shutter.
5. Take Test Shots
- Inspect Exposure and Focus: Take a test shot to gauge your exposure and focus. View the photo within your camera display, and adjust ISO, shutter speed or aperture accordingly.
- Bracketing (optional): If you’re unsure about exposure, and time allows, take a few shots at different settings as an insurance plan. That gives you the option of selecting it for perfection in post.
6. Review and Adjust
- Check Your Images for Sharpness & Exposure: Once you have taken a few shots, zoom in on your images to make sure the stars are as sharp focusing and hold up well after some light noise reduction.
- Tweak: If any problems are suspected (like not seeing stars sharp or too noisy), tweak the settings and take it again. Experiment with different types of compositions and angles.
In following through with each of these steps, you will be all set to convert a moment into elaborate artistry which mirrors the wonder of deep space as seen in taking astonishing images of Milky Way.
Mastering Camera Settings
Milky Way Photography Key Settings
Here is a starting point for blue hour settings when you are ready to shoot:
- ISO: Be at ISO 1600 to 3200, depending on how well your camera handles noise.
- Aperture: Shoot wide open (f/2.8 or lower) to let in as much light as you can
- Shutter Speed: For your exposure time, apply the 500 Rule: measure in seconds; divide 500 by focal length of lens (in mm) E.g., 500 / 20 = 25 s with a lens at focal length of twenty millimeters
- Modify: Use manual focus with a bright star or torch in the distance to guarantee crispness.
Taking the Shot
There are some final settings and then you shoot the milky way:
- Place your camera on the tripod.
- And finally all three that work along with the tip to frame your shot considering foreground elements.
- Avoid accidentally shocking the camera by using remote shutter release or self-timer.
- Check your picture and make changes if you need to.
Post Processing Your Images
Post-processing after taking your Milky Way photos will help to add more beauty and impact into the pictures.
- Software: Adobe Lightroom, Photoshop.
- Exposure and Contrast: Fine tune the exposure, contrast, and clarity to enhance detail in your Milky Way.
- Reduce Noise: all those high ISO settings will probably add some noise to the image so use your elimination tools.
- Increase Color: Artificially adjusts the color balance of an image that helps stars to stand out and makes a lively sky.
Conclusion
Becoming a master in Milky Way photography is one of the most wonderful ways to make you feel that human connection with cosmos and let others join this beauty. With knowledge of the universe, right gear by tour side and most important proven techniques you can reveal secrets from above. Read above for some tips on how to do that, but your best bet is just grab a camera and head out exploring in the darkness guided by what stars you can see.